For this you need Versamark pad, paper, a stamp and either Viva Decor pens, Adirondack Dimensional Pearls, Liquid Pearls or even Stickles. I'm sure there others you can use but these are the ones I am familiar with. A note about stamps here: stamps that are a flourish type are the ones you want to use. Stampin' Up! makes many and there is a perfect one by Inkadinkadoo called Dot Swirls that is ideal. That is the one I'm using for the purposes of this demo.


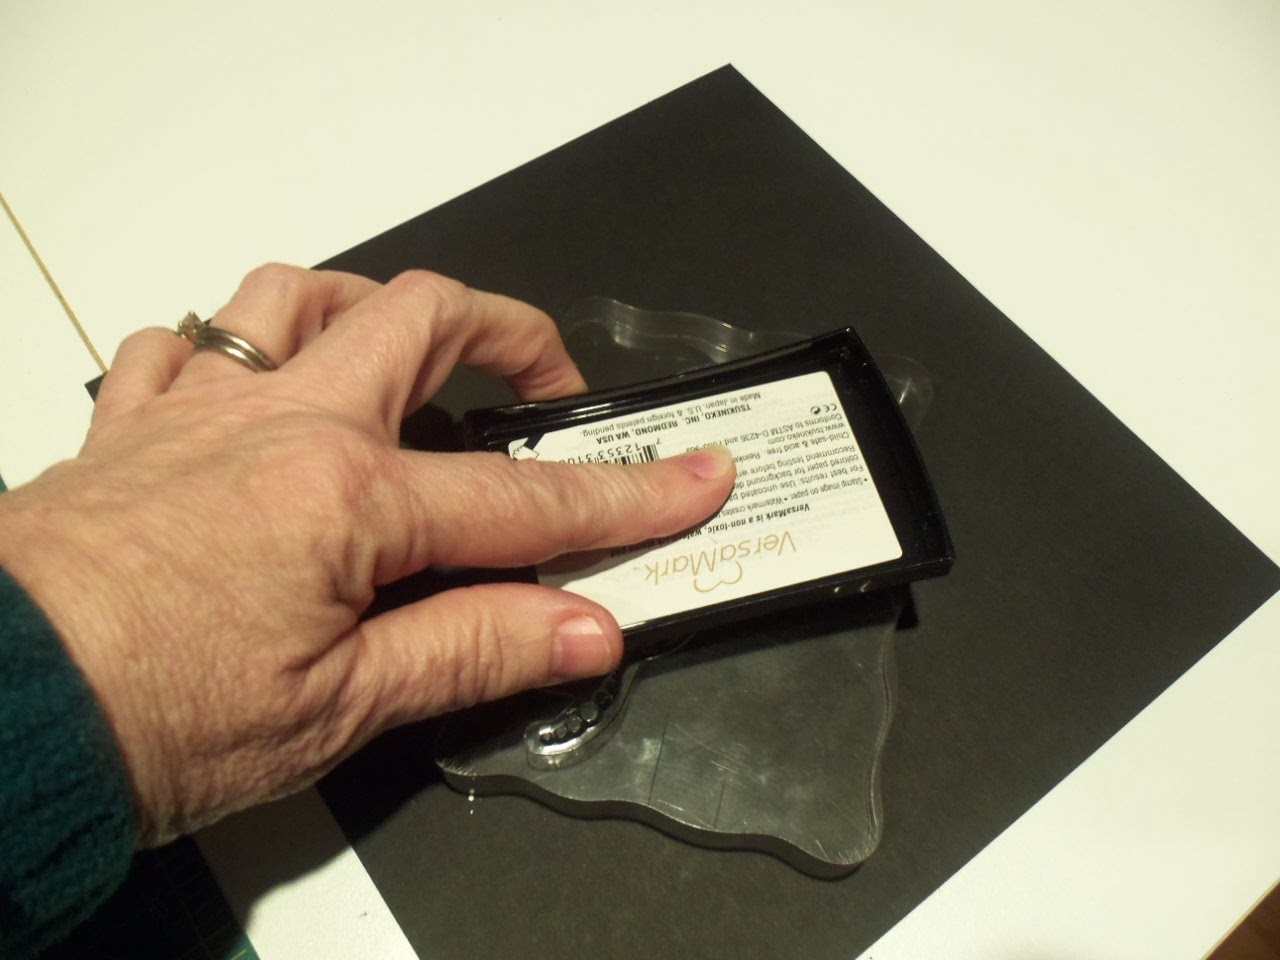
HINT: I have found that seeing the Versamark ink is easier on darker paper rather than lighter. That's not saying you can't do it on white or light paper. It's just easier on dark. First thing you want to do is ink up your stamp with the Versamark. You can use regular Versamark or one of the "colors" such as Versamark Champagne or Versamark Dazzle Frost or one of the others. Stamp firmly on your surface giving it good pressure. Remember, I'm just using a scrap to show you but you would be doing this right on your card, tag or scrapbook page. The second picture shows what the versamark looks like stamped. This is on green paper.

Then you start with your choice of whatever bottle of bling you want to use and you go along the lines and dot with small circles or dabs if you will of your medium. The particular stamp I used has larger and smaller dots on it so I attempted to do that with the pearls I used. I have found that Viva makes flatter dots and Dimensional Pearls and Liquid Pearls tend to make dots that have a "peak." There is a way around this. You use to fingers to flick the underside of the paper GENTLY and the peaks will flatten.You can see the "post flicking" flatter effect on the second picture.


Then you simply finish off your swirls with dots of the pearls or whatever you are using and TA DA! You're finished. I have seen this done years ago where you laid a piece of transparency over a swirl design from a catalogue or book. Then make your dots on the transparency and afterwards cut it out close to the swirls once it is dried. In fact I used that method once or twice. Problem is, it's a pain to cut out. The transparency doesn't show too badly on your layouts. But I much prefer this to that method. You also can always use just a portion of your swirl...whatever you need to fill in your card of layout and make it look the way you want. I hope you'll give this a try. I found it to be a lot of fun!


2 comments:
Really a great idea, I can see I will need to be buying more liquid pearls...lol...thanks for sharing!!
What a really cool technique and tutorial. TFS Mary!!
Post a Comment