Saturday, February 25, 2012

Build A Page Hidden Binding Album


Yesterday it was too dark and dreary for pictures and today the sun is so bright you can hardly stand to look out the window! But this loooooong post is not about the weather. Grab a cuppa, relax and enjoy! First I want to make it clear this is NOT my idea but the brainchild of a very talented papercrafter named Kathy Orta. You can find her and her stupendous projects at http://www.paperphenomenon.blogspot.com/. PLEASE go and visit. You will be amazed. I decided to purchase her tutorial on this album and make one. And to show you that not everything goes as planned I will share with you that I got down to the very last part of the book, making the cover, when I noticed that the paper I used had cracked where I wrapped it around the edges of the cover. I was devastated after all my hard work. I walked away, stewed over it for awhile and came up with a solution. I either had to make the cover for the album over or come up with a creative solution. The ribbon along the edge of the spine piece was my solution. Just so you know. I'm trying to stay humble here!


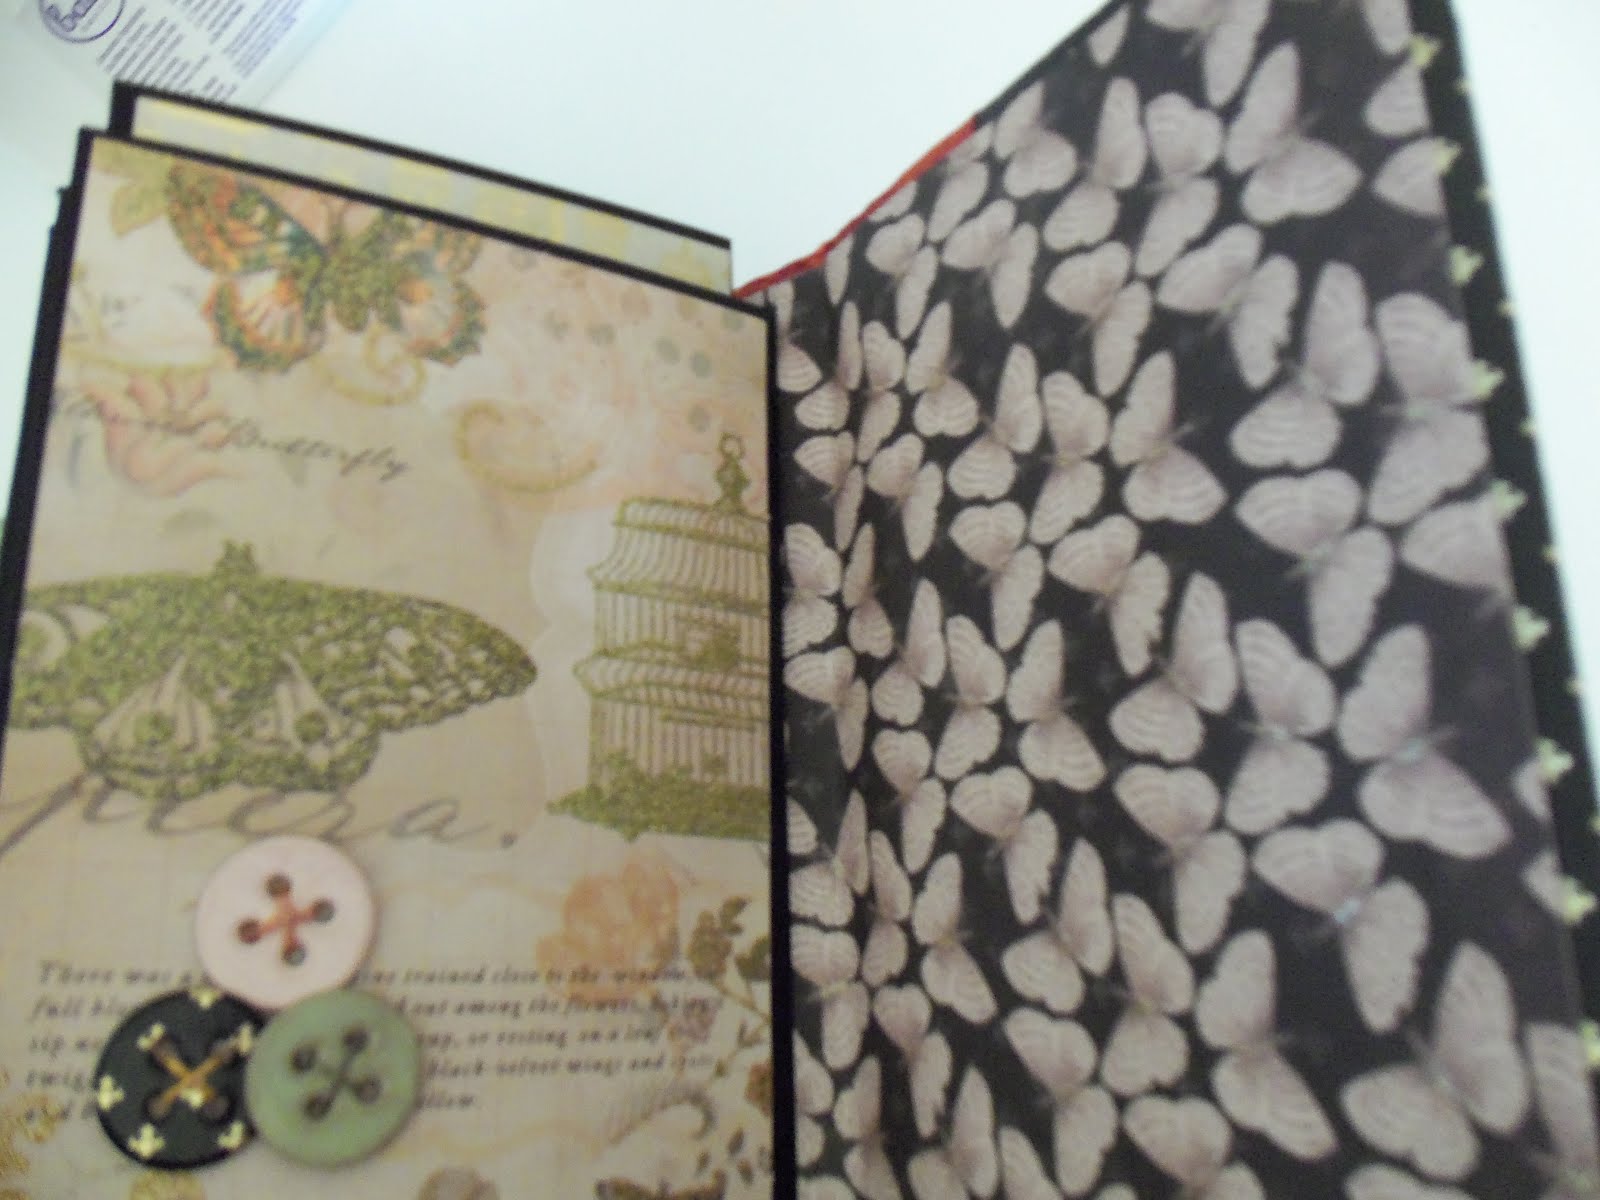
OK so let's go through this. It's a picture heavy post and I feel like I couldn't possibly show you all the real estate in this book regardless. The paper I used was "Mariposa" which I purchased at JoAnn's some time ago. The next shot is the spine and back cover. You'll notice the ribbon which goes around the spine which covers the edge of the offending paper, the red. At first I hated the fix but it has grown on me. Better than a whole new cover. The book cover is very hard and firm. For that you use chipboard or in my case I used Craft a Board from Ellen Hutson. The idea of this book is that you make base pages which are all the same and you you add to them with 6 different customizable add ons. You end up with a page that has a top pocket in which you can put photo mats or whatever, side pockets, and pockets on each page itself. The next photo shows a shot from the top so that you can see just how full this album is. The number of pages is up to you. You can also see that no binding "apparatus" shows. It looks like a regular bound book and this system is the genius of Kathy Orta, her hidden binding. All albums I make from now on will be like this because it gives such a wonderful finish. Next is the inside cover with a frame from the dollar spot at Mike's and some posies. Then the first page which shows a flip up, a pocket above that and a pocket on the side and top of the page with mats sticking out. I hope you get the idea. I'm not a great photographer! On the back of that page is a flip up with more real estate for pictures or journaling, and then you see a double side pocket on a page with two smaller mats which come out ( I show them both in and out so you can see how it works and that structure is opposite a page with a pocket with more tags stuck in the top. Then a shot with more flip up and flip out pages followed by another layout with a side opening add on and the little flip page that says FLY also folds up. Then there is the final page which the chippy buttons and the inside back cover. Finally the back cover with a Kaiser Kraft butterfly with MS pearl paint and some bling. Whew! Each and every page can have as many as 3 pockets and flip in any direction you choose--up, out, down etc. I attempted to just give you an idea of all the options. I can't wait to do another one. This was labor intensive BUT very easy in it's construction. Kathy's tutorial I believe was $10.95 and for everything that you learn and can apply to future projects it was worth every penny. Thanks to Kathy and I hope you all enjoyed your look at this super project. Have a great weekend!


PS: One of these days I'll figure out how to put the description next to the picture. No matter what I do it doesn't happen. Sorry.

Friday, February 17, 2012

An Art Journey


This is going to be my Art Journal. I purchased the spiral bound book at Michaels several weeks ago and just got around today to working on the covers. It's a mixed media paper by Strathmore so I hope it will perform well with all the inks, paints, glues, art mediums etc that I plan to use. This will be a place to explore new techniques and just "go with the flow." You can paste up ideas or glue in ephemera that you collect. Sketch. Draw (or try to in my case!). Experiment with new mediums, sprays, paints, pigments, etc that you want to try. I'm looking forward to dabbling around in it and hope that some of it will be worthy of sharing with you, my readers.

Wednesday, February 15, 2012

She Art 3


Here she is in all her angelic glory. I named her "the angel of "just get it done." The background is kind of a light rust with tones of green and gold. I used a lot of white highlights in the background. Each one of these I do teaches me something else....another technique....a different way to embellish. I thought with the name she needed to be a woman wearing the pants so to speak. The wings I first stencilled then used paint and a paint pen to color them in more then outlined them here and there with a Faber Castell art pen. Quite a few random stamps used on this one too. This is so much fun! And I'm getting some more mileage out of all those little 2 oz. bottles of paint I had from when I used to do a lot of tole painting. Canvases are on sale at all the craft stores right now (Mike's, JoAnns, Hobby Lobby). Give it a try!

Sunday, February 12, 2012

Some Valentine Love


With Valentine's day fast upon us I thought I'd offer you this little card today. The fun thing that makes it special is that I used the same embossing on the envelope flap as I used on the background. It was quick and easy and adds so much. I used a Provocraft embossing folder on the envie and on the Whisper White cardstock. The ribbon was one I bought ages ago at Mike's but never used because it was one sided and didn't make such a pretty bow but pleated this way it's a winner. Across the ribbon is a row of Recollections adhesive pearls and the stamp is from SU. I hope you and your valentine have a super loving day on Tuesday. Oh, and happy birthday Mr. Lincoln!

Friday, February 10, 2012


I finished She Art Girl #2. Much happier with the background and the girl in general. Still thinking I can improve on the hair! I was a little more deliberate on this one. Christy Tomlinson works sooo fast and I wasn't happy when I did that so I went about this one a little differently. I also used 3D butterflies on this one, some Perfect Pearls, Adirondack color washes and Paint Dabbers and designer papers. This background was made entirely from art mediums....no paper or ephemera was used. Her little journaling strips say "All she wanted was visions of wonderful little treasures." I think I was thinking of all the new products that came out at CHA last week. There were so many fantastic new goodies......I think I need to get a job to support my habit! This process is like eating peanuts--you can't do just one! Have a wonderful weekend everyone!


Monday, February 6, 2012

She Art


Well I finally got around to doing one of the She Art canvas creations. I think it's just OK for my first effort. The hair is wrong and I made her a little bottom heavy but I'm happy with the texture I created and the second photo might help you see that a little better. It's all about layering. I used texture paste on the sun, bubble wrap, stamps, ink, paint, doilies (can you see it???) and scrapbook paper just to name a few. I hope my next one will be better because I sure learned a lot on the first one. It's somewhat messy but a lot of fun. I hope you'll give it a try. Christy Tomlinson is such an excellent teacher and so talented. Her logo is on the left sidebar. Have a great week everyone!